Suddenly I had to recover a NAS synology station. The actived encryption makes the challenge even bigger. After expending hours I was able to read the encrypted filesystem. Below the way to read an encrypted volume of a Synogy Disk system.
Type Synology:
Synology System: DS218
DSM version: 6.x
One of the most helpful articles was this on this article. But in my case it was not completely. In the first part of the article you can read how to mount the encrypted Synology volume to a linux filesystem. In my case the filesystem wouldn’t mount.
I stucked on this point.
mount ${device_path} ${mount_point} -o roPossible reason was that the RAID was broken and not bootable from the synolgy and even not mountable in the linux.
mdadm --detail /dev/md2keeps in State : inactive
Finally I used a recovery tool to read out the data of the encrypted disk: UFS Explorer Standard Recovery.
I was wondering if it was possible to decrypt the files even when they were recoverd from the filesystem as raw files. Synology is using ecryptfs and this works on this way:
- Files and folders namers are totaly encrypted
- The data of the file is also encrypted
- But the structure of the folders and the files
It is possible to rather recognize the files and this is the manner which is used by the encryption tool
- ROOT FOLDER: @ARCHIVE@
- DIRNAME: ECRYPTFS_FNEK_ENCRYPTED.ATc9TrA41A.0tr….–
- FILES:
ECRYPTFS_FNEK_ENCRYPTED.ATc9UqkTac.0tr….–
ECRYPTFS_FNEK_ENCRYPTED.ATc9UqkTac.0tr….–
- FILES:
- DIRNAME: ECRYPTFS_FNEK_ENCRYPTED.ATc9TrA41A.0tr….–

Logo of eCryptsfs
Some file properties and file extensions are also changed others are left. File sizes and are the same. So the encryption will only change the content of the files and the name. In my situation I was wondering if I could recover based on the raw recovered files. It worked en below the instruction which helped in my situation. Explained below:
In this situation the encrypted files are available in:
/media/ub-recovery/TARGET/RECOVER-ARCHIEF/@Archief@/
The intended target is:
/media/ub-recovery/TARGET/RECOVER-MOUNT
The instructions will have the result that the last target is the active mount point to make the files visible. The final decryption the files will be applied when we copy the files from the mountpoint to another location (that is basically not encrypted).
sudo -iLogin an grant root rights
mount -t ecryptfs /media/ub-recovery/TARGET/RECOVER-ARCHIEF/@Archief@/ /media/ub-recovery/TARGET/RECOVER-MOUNTInitial mount instruction with the parameter ecryptfs

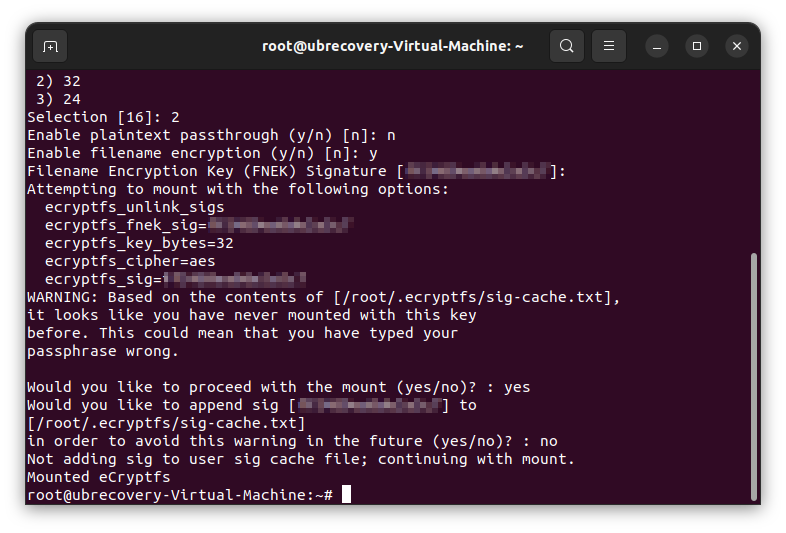
Key typeSelect 1 for passphrase
PassphraseFill the decryption key which is need to decrypt the files. (My assumption is that this passpharse overrides the key which is saved by ‘ecryptfs-add-passphrase –fnek’, but not sure)
CipherSelect 1 for aes: bs 16 / min ks 16 / max ks 32
Key bytesSelect 2 for 32
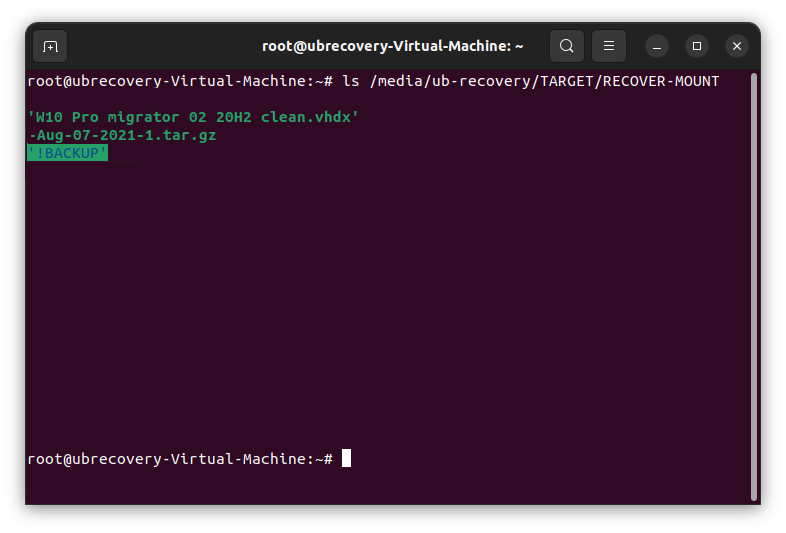
In example above I have listed the files from the mount point. As you can see we have the live files available from the encrypted source files.
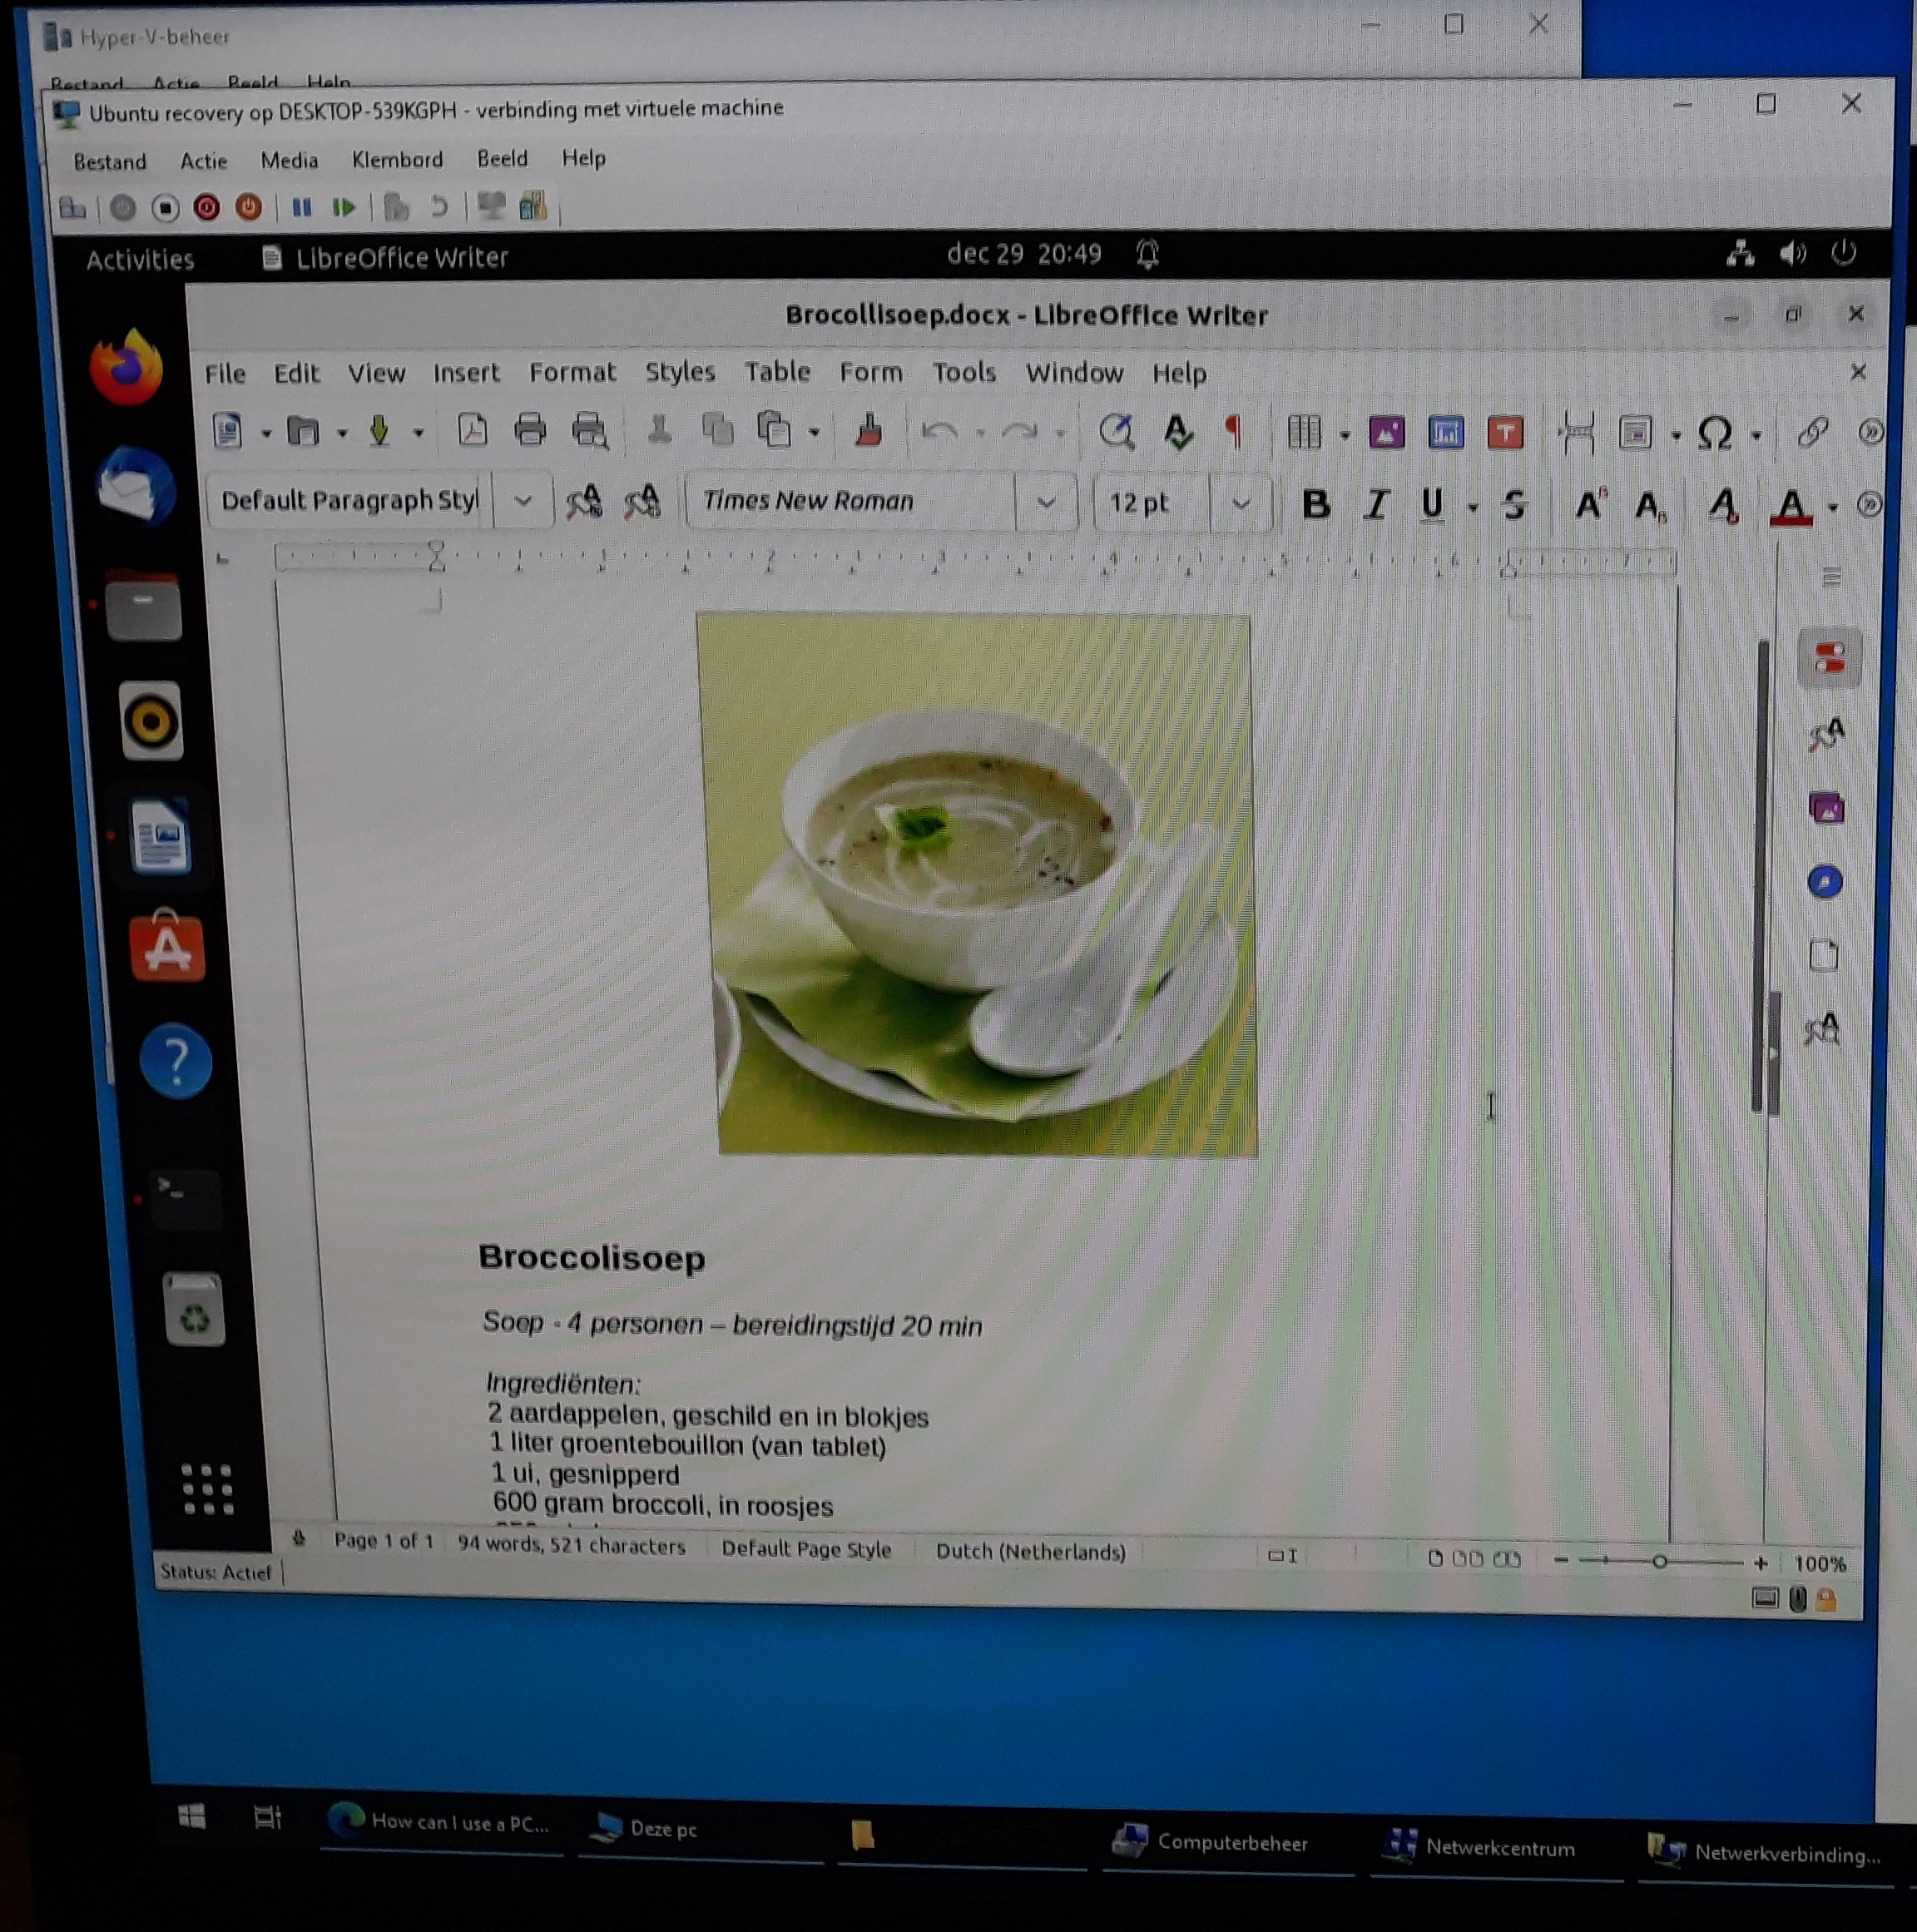
In this example I checked one of the .doc files. As we can see we the recovery was succesful. The last step was to copy the files to another location to create a store with full clean files back.