-
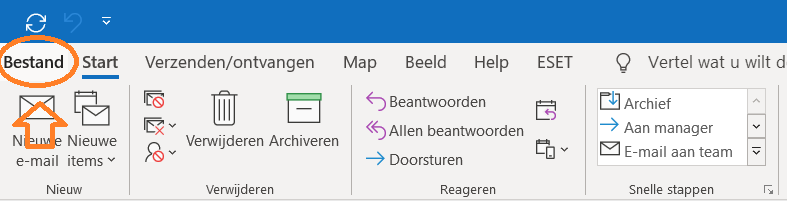
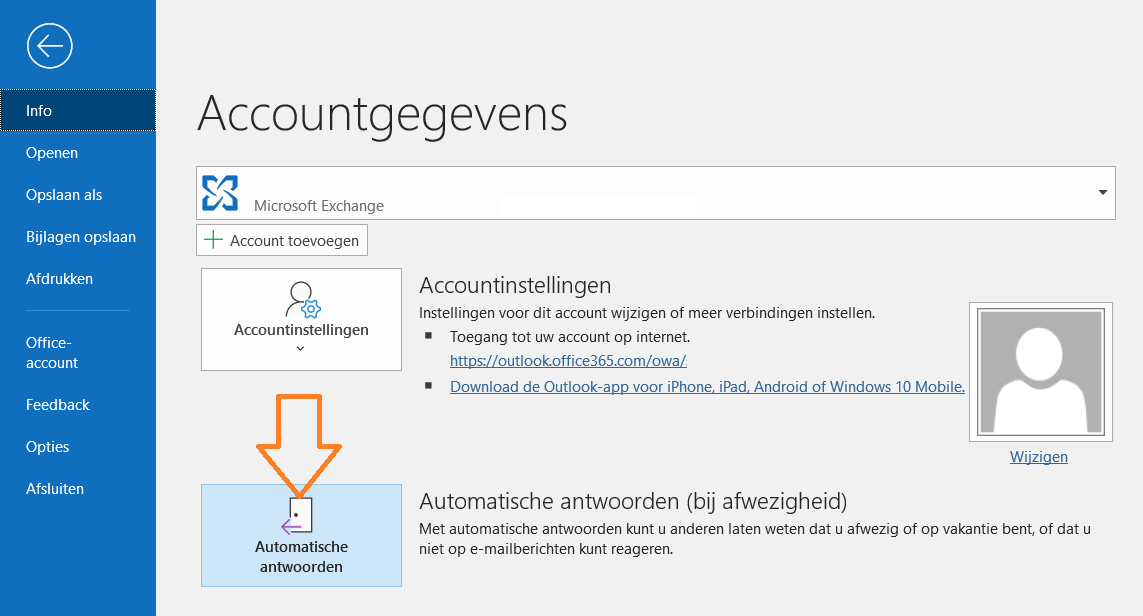
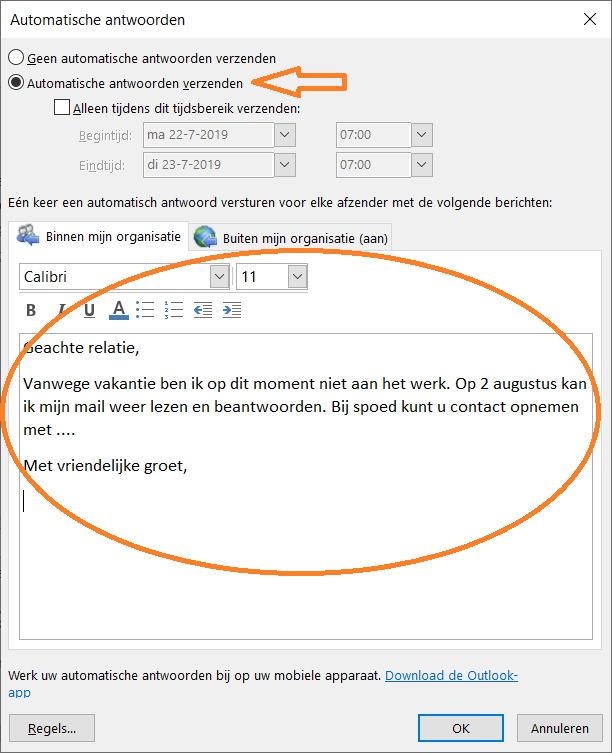
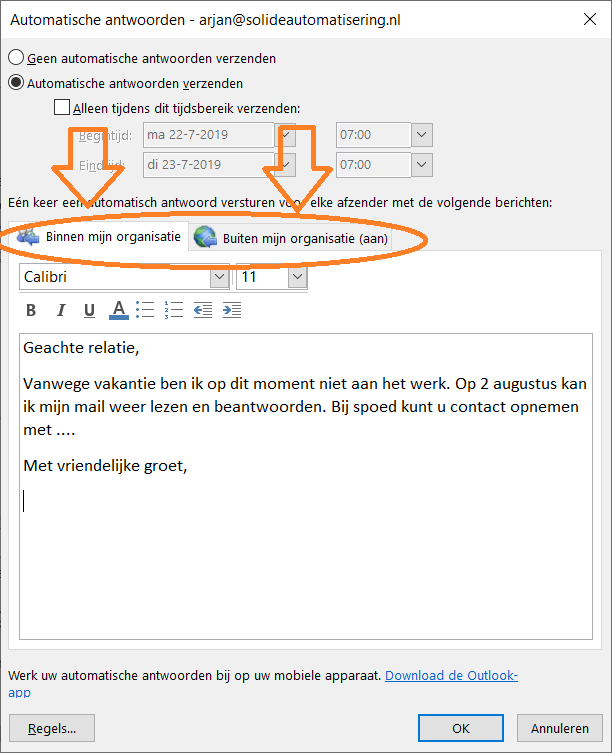
- Automatisch antwoord instellen in Outlook
- Automatisch antwoord instellen in webmail
- Automatisch antwoord instellen voor een gedeelde mailbox
Veel gebruikers maken gebruik van Office 365 webmail. Ook hierin is het vrij gemakkelijk om een autoreply in te stellen. Hierbij de handleiding om dit in Outlook webmail te regelen:
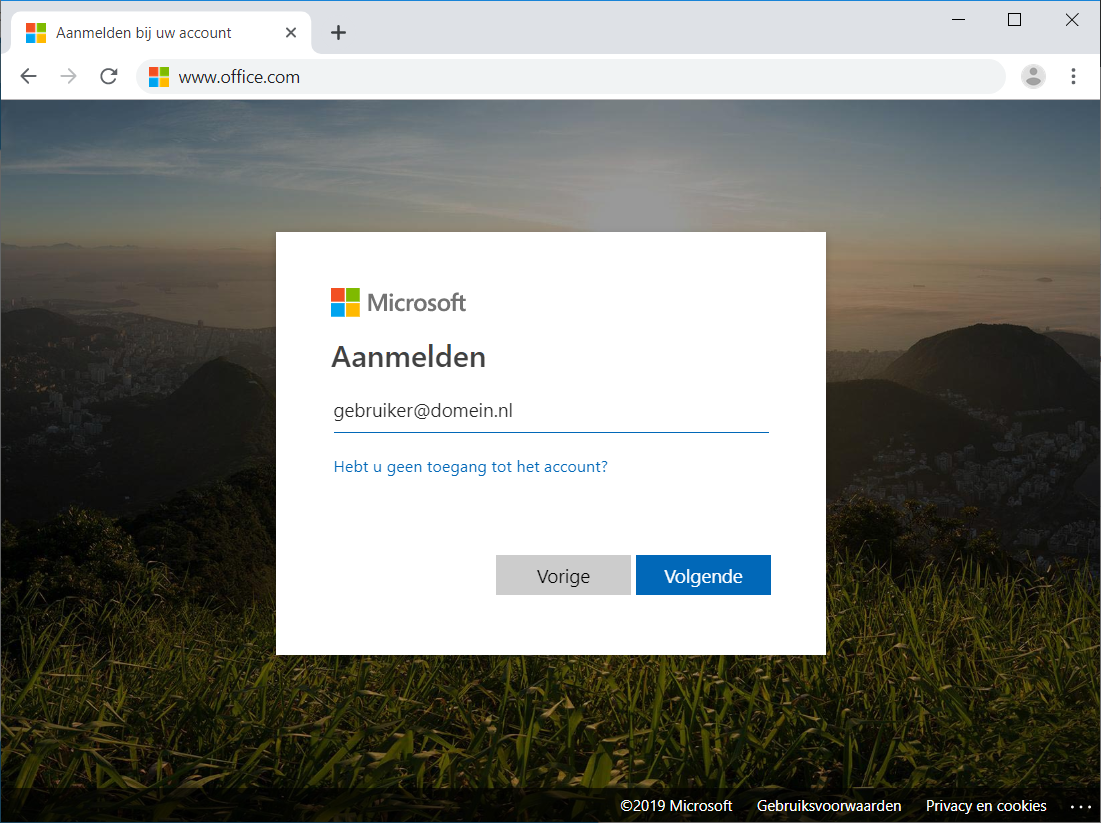
- Ga naar www.office.com
- Log hier in met je gebruikersgegevens
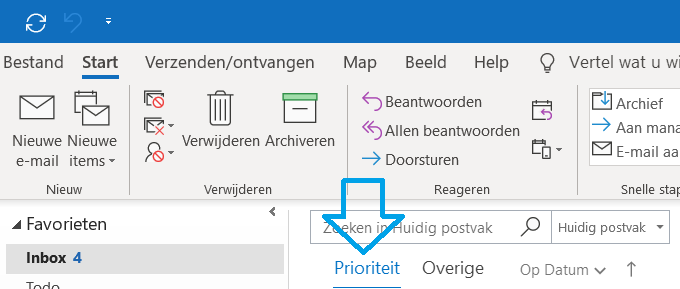
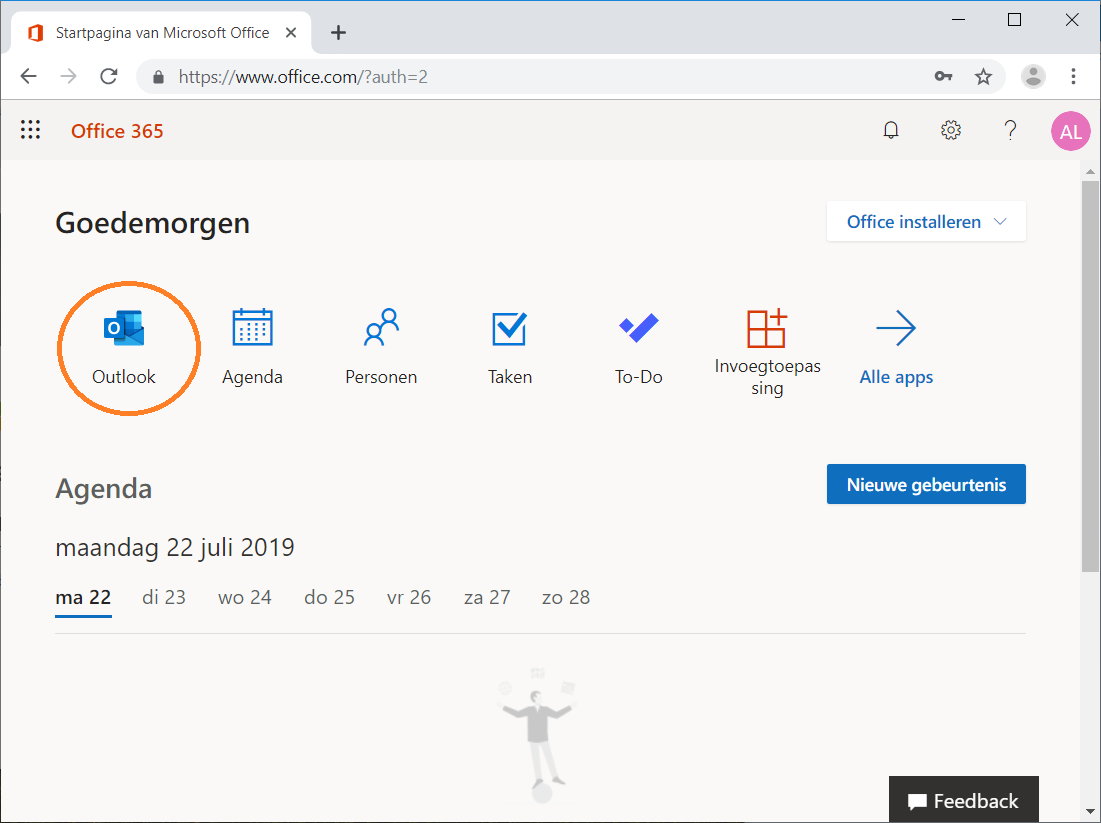
- Kies in de Office 365 webomgeving de Outlook app (zie hieronder)
Vanaf dit punt zijn er twee mogelijkheden:
- Nieuwe webmail (Het nieuwe Outlook)
- Oude webmail (klassieke O365 webmail)
1. Nieuwe webmail
Volg onderstaande stappen:
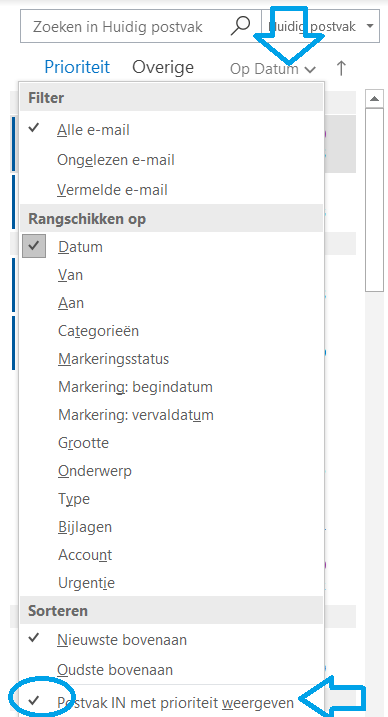
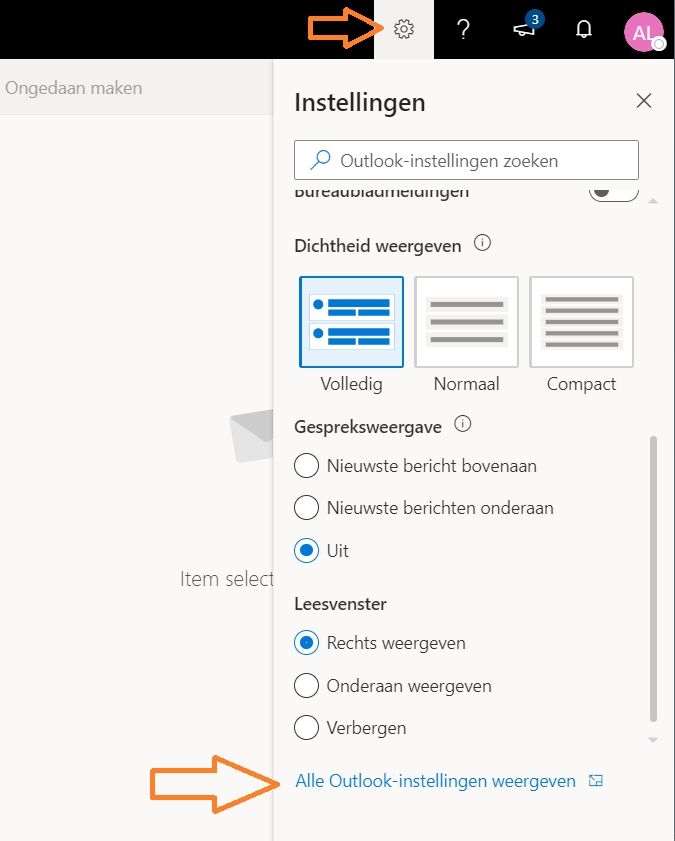
- Klik op het tandwiel
- Ga onderaan naar Alle outlook-instellingen weergeven
Daarna verschijnt onderstaande venster
- Zet hierin Automatisch antwoorden zijn ingeschakeld aan
- Kies het eventuele tijdsbereik
- Vul de te antwoorden tekst in, let op dit kan binnen en buiten de organisatie
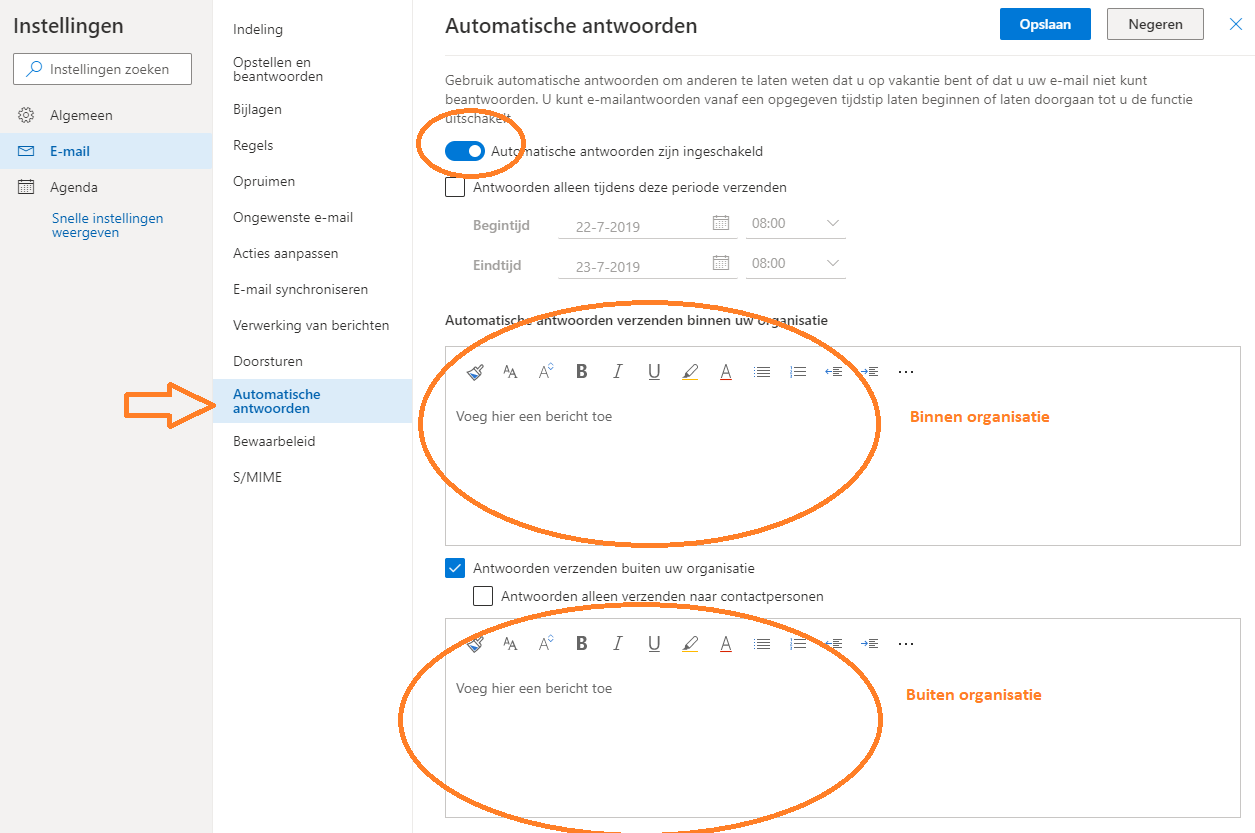
Klik daarna op Opslaan
2. Oude webmail
De oude webmail is te herkennen aan een grijs/blauwe look zonder veel kleur. Hierbij de stappen om in de oude webmail de autoreply in te stellen:
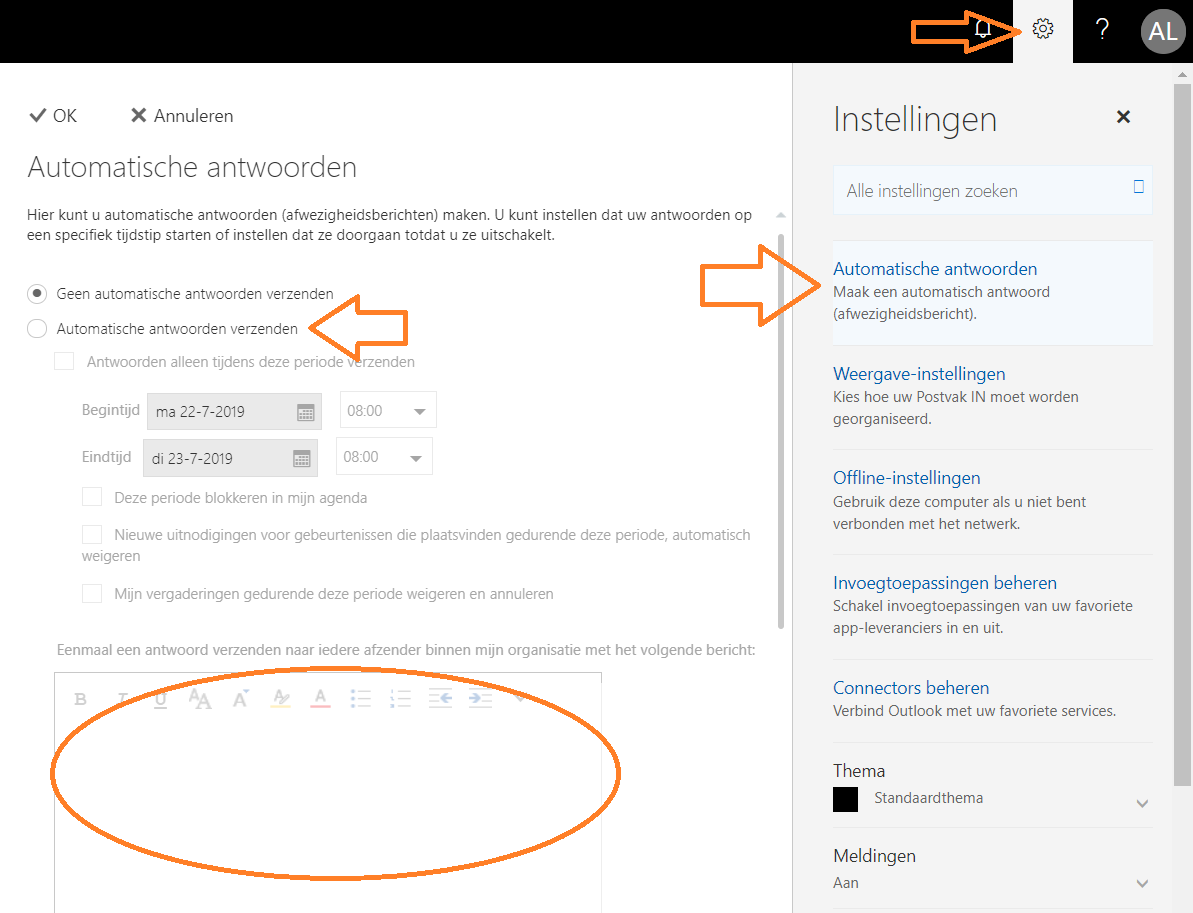
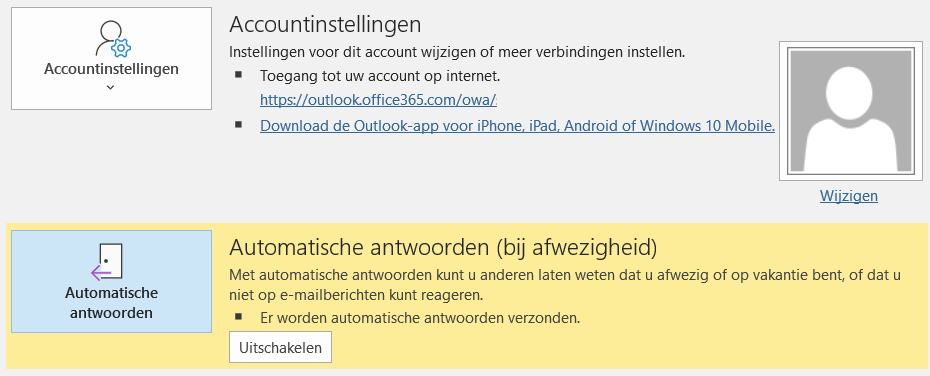
- Ga naar het tandwiel
- Kies Automatisch antwoorden
- zet Automatisch antwoorden verzenden aan
- Geef de bericht tekst in
- Klik daarna op OK
Tip: test een automatische handtekening altijd even vanaf een extern adres. Bijvoorbeeld vanaf je gmail, hotmail, outlook adres…